Date Night · Thai · 40 minutes · Advanced
Thai Sweet-Spicy Electric Eye Makeup
Date Night Look with Upturned Winged Liner and Glossy Glass Lips
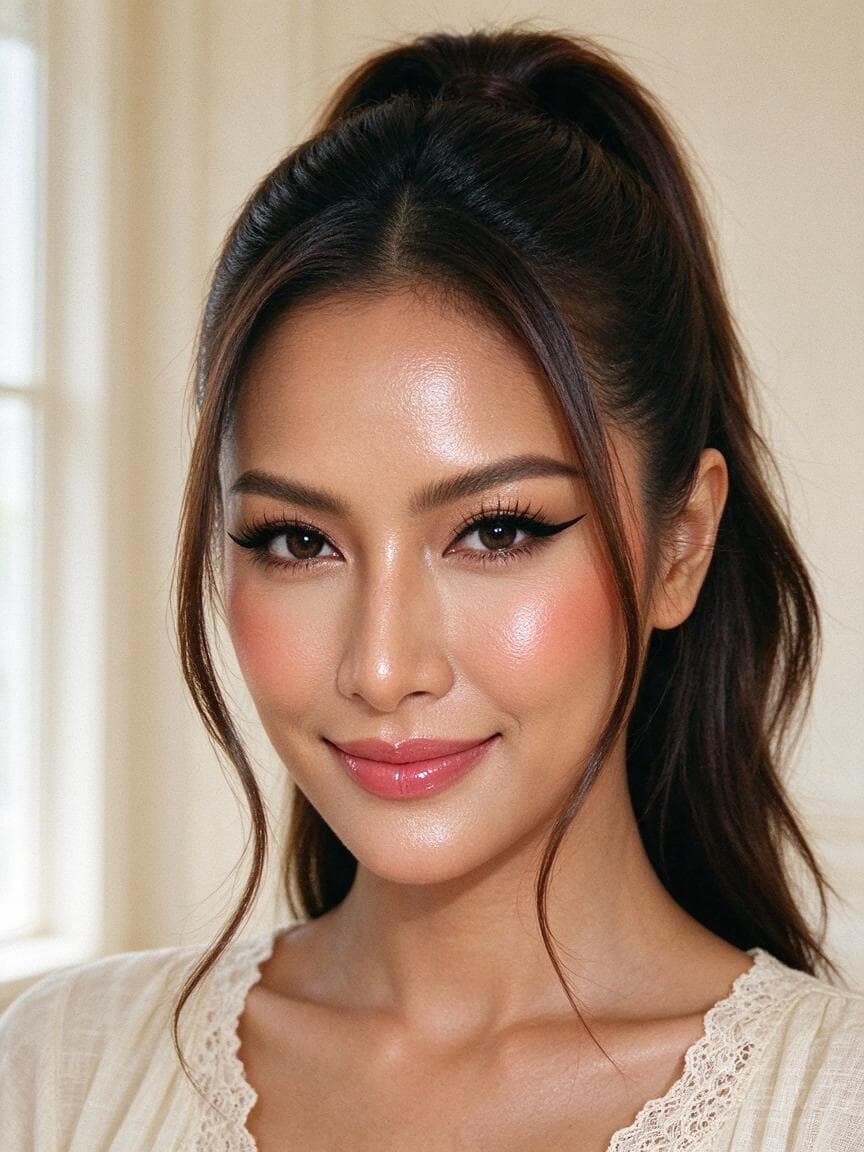
The Thai sweet-spicy date makeup focuses on a bold, clean contoured, mixed-ethnic look. Sharp, elongated upturned eyeliner paired with thick, separated lashes, and full, dewy glass lips softens the intensity of the eye makeup, striking a sweet-cool balance that looks polished and memorable even in close-up eye contact.
Flatters face shapes
Flatters eye types
Flatters skin tones
The Steps
Step by Step- 01
Sunscreen and Hydrating Primer Base
Apply a thin layer of hydrating sunscreen all over the face. Lightly apply oil-controlling primer to areas prone to shine like the T-zone and apple cheeks, avoiding dry areas on the cheeks to create a smooth, non-caking base for the subsequent makeup.
Pro tipOily skin can layer a small amount of oil-controlling primer on the T-zone, while dry skin can apply extra hydrating primer on the cheeks.

- 02
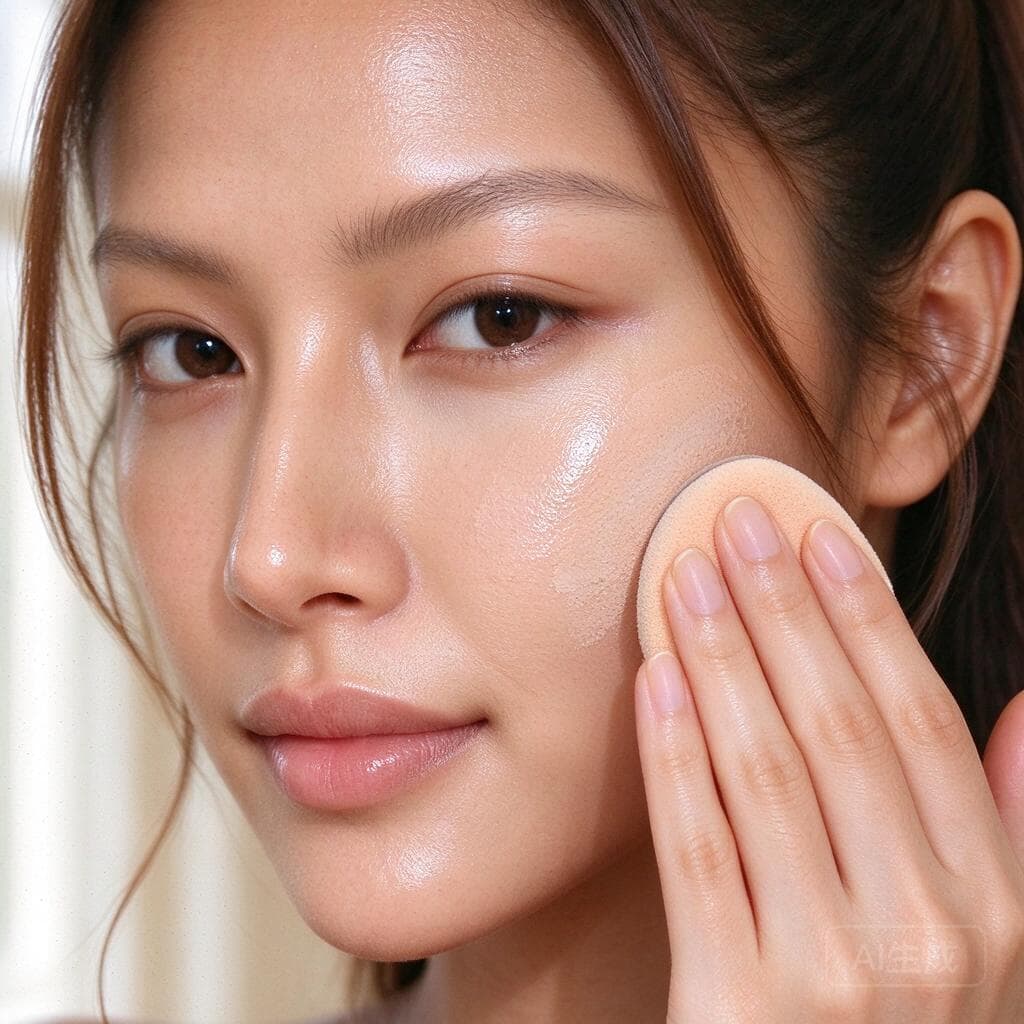
Sheer Long-Wear Cushion Foundation
Use a damp beauty sponge to pick up a small amount of cushion foundation, and blend it evenly from the center of the face outward. Apply a thin layer to preserve the skin's natural texture, and build up coverage on the center of the face, blending the edges naturally down to the neck.
Pro tipBuild coverage in thin layers to avoid a heavy, mask-like finish, and blend seamlessly along the jawline to avoid visible lines.
- 03
Precise Concealing and Local Setting
Use a small concealer brush to spot-apply orange corrector under the eyes, then layer peach concealer to brighten the tear trough. Lightly pat to cover redness around the nose and mouth corners. Finally, use a large powder brush to tap off excess product, and lightly dust a thin layer of translucent setting powder on the center of the face.
Pro tipOnly apply an extremely thin layer of setting powder to preserve the skin's natural glow, avoid setting the entire face to a matte finish.

- 04
Feathered Thai-Style Bold Brows
Use a dark brown-gray brow pencil to fill in gaps in the direction of hair growth, slightly lift the arch, and naturally extend the tail. Then, use clear brow gel to brush the hairs upward, creating a textured, feathered brow effect.
Pro tipChoosing a brow color one shade lighter than your hair looks more natural. Avoid straight, thick brows, keep a subtle arch for that signature Thai bold look.

- 05
Neutral Eyeshadow to De-Puff the Eye Area
Use a large eyeshadow brush to pick up light gray-brown matte eyeshadow, tap off excess product, and lightly dust a thin layer all over the eye socket to de-puff the lids. Then, layer dark brown eyeshadow lightly on the outer third of the eye, blending naturally for depth.
Pro tipDo not extend the eyeshadow beyond the eye socket crease. Lighter shades go on a larger area, darker shades on a smaller area to avoid a muddy look.

- 06
Elongated Sharp Upturned Winged Liner
Use a black kohl pencil to fill in the upper lash line. At the outer corner, extend a sharp upturned line about 5mm outward following the eye shape, tapering it naturally from thick to thin. Lightly line the outer third of the lower lash line with a dark brown pencil, blending it seamlessly with the upper liner.
Pro tipAdjust the length of the outer wing based on your eye shape. Those with wide-set eyes can shorten the wing slightly, while those with close-set eyes can extend it a bit more.

- 07
Curl Lashes and Layer Volumizing Mascara
First, use an eyelash curler to curl the upper lashes in sections from root to mid-shaft. Then, apply two layers of volumizing black mascara, wiggling from root to tip in a zig-zag motion. Use a thin-tipped mascara to coat the lower lashes individually, creating separated, thick, curled lashes.
Pro tipIf your lashes tend to droop, wait for the first layer of mascara to dry before applying the second layer. Do not apply too much at once to avoid clumps.

- 08
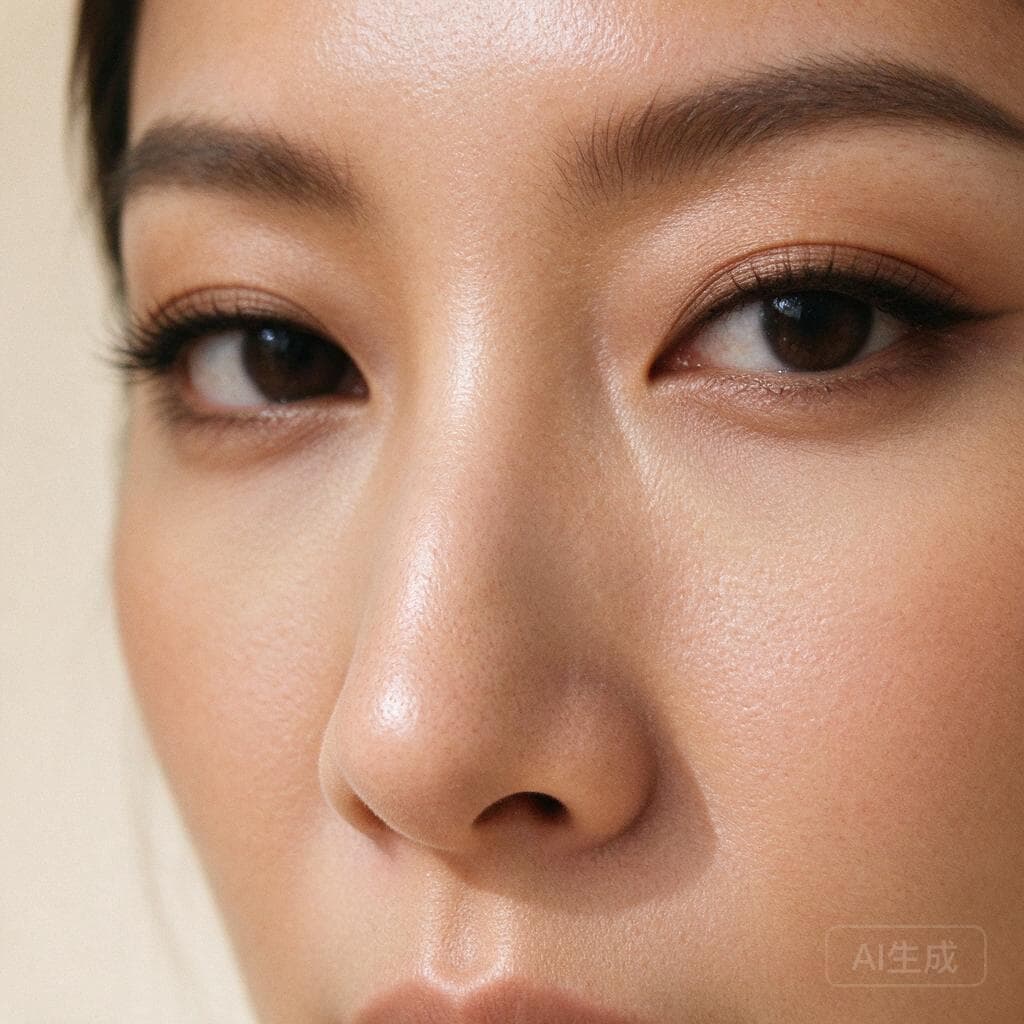
Natural Contoured Nose Shading
Use a small contour brush to pick up gray-brown contour powder, tap off excess product, and lightly dust along the outer edges of the nose bridge starting from under the eye socket. Do not make the contour too wide, and do not connect the two sides at the bridge of the nose. Lightly dust a bit of shadow on the tip of the nose to create a natural bone structure.
Pro tipThe goal of nose contour is to be so subtle that others can't tell you're wearing it, just leaving a natural dimension. Avoid drawing two obvious gray stripes.
- 09
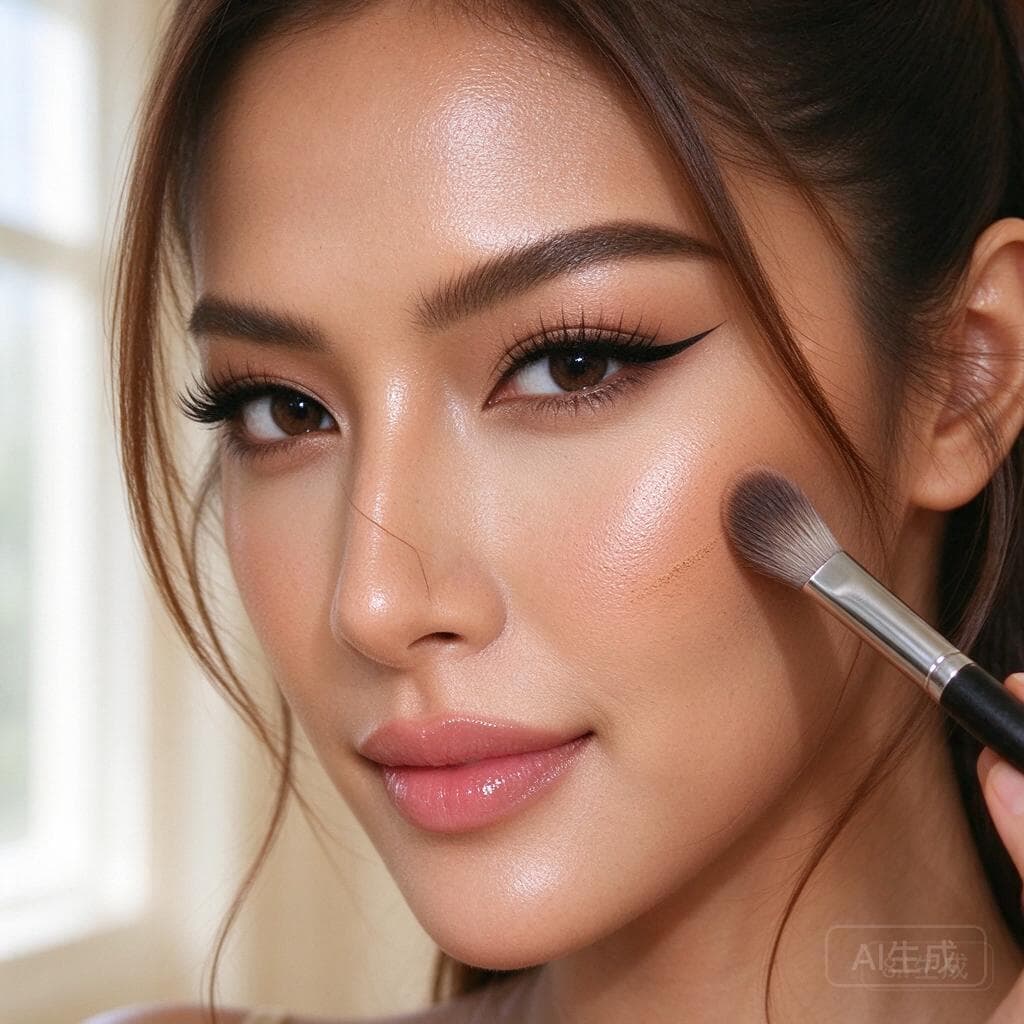
Thai Bold Contouring
Use an angled contour brush to pick up gray-brown contour powder, tap off excess product, and lightly sweep from below the cheekbone toward the temple. Sweep along the jawline to slim the face shape, and lightly dust along the hairline to soften harsh facial edges.
Pro tipChoose a gray-brown contour shade, not red or orange-toned. Build up the product in thin layers, blending until there are no visible edges.
- 10
Sheer Luminous Highlighter
Use your finger to pick up a finely milled champagne shimmer highlighter, and dot it lightly on the high points of the cheekbones, brow bone, nose tip, and cupid's bow. Gently pat to blend, creating a natural, skin-like glow. Avoid chunky glitter highlighters that look rough.
Pro tipKeep the highlighter area small, just dot on the bony points. Avoid applying glitter all over the face which looks greasy.

- 11
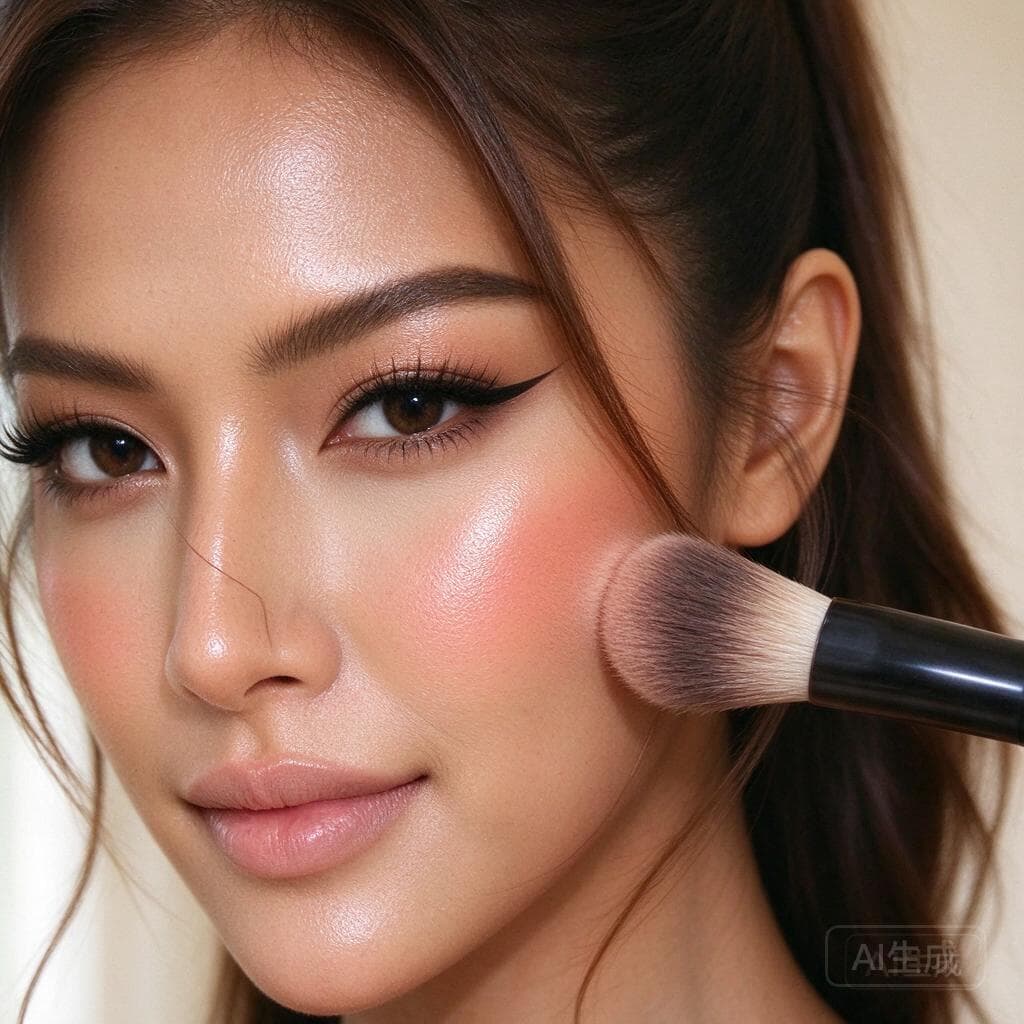
Sweet Peach Blush for a Healthy Flush
Use a fluffy blush brush to pick up peach-orange blush, tap off excess product, and sweep diagonally from the apple of the cheek toward the temple. Place it slightly high to blend with the contour, creating a sweet-cool vibe, blending naturally without harsh edges.
Pro tipBuild blush in thin layers, blend the area where it meets the contour seamlessly to avoid blocky color patches.
- 12
Glossy Glass Lips
First, apply a layer of lip balm as a base, blot off excess oil with a tissue. Then, apply a sheer rose-pink lip gloss, blending outward from the center of the lips. Add a bit more product on the cupid's bow to create a full, plump glass lip effect that softens the intensity of the eye makeup.
Pro tipAfter applying, you can add a bit of clear lip oil in the center of the lips to enhance the glass lip effect. To prevent the gloss from transferring, wait for the first layer to dry before applying a thin second layer.

Shopping List
Shop the Look
- Hydrating Sunscreen PrimerSuitable for all skin types
- Sheer Long-Wear Cushion FoundationNatural Warm Fair
- Multi-Color Concealer PaletteOrange Corrector + Peach Brightener
- Translucent Setting PowderColorless Transparent
- Dark Brown-Gray Brow PencilGray-Brown
- Clear Setting Brow GelColorless Transparent
- Matte Neutral Four-Shade Eyeshadow PaletteGray-Brown Neutral Tones
- Black Waterproof Kohl EyelinerPure Black
- Dark Brown Waterproof EyelinerDark Brown
- Volumizing Curling MascaraPure Black
- Gray-Brown Contour PowderNatural Gray-Brown
- Champagne Shimmer HighlighterFine Shimmer Champagne
- Peach-Orange BlushWarm Peach
- Rose-Pink Lip GlossSheer Rose Pink
These are sample picks — test shades against your own skin tone before buying.
You May Also Like
View all →
Tangerine Sunset Date Makeup Look
20 minDate Night · For Oval, face, Soft, square-round, face · Hooded, puffy, eyelids, Inner, double, eyelid

Peach Oolong Milk Tea Makeup Look
18 minutesDate Night · For Round, face, Oval, face, Heart-shaped, face · Round, eyes, Downturned, eyes, Inner, double, eyelid

Luminous Aegyo-Sal Eyes
15 minDate Night · For Round, Oval · Downturned eyes, Less defined aegyo-sal